Combine the capabilities of CAD, 3D Printing, basic woodworking tools and supplies to create fun, custom, budget friendly furniture!

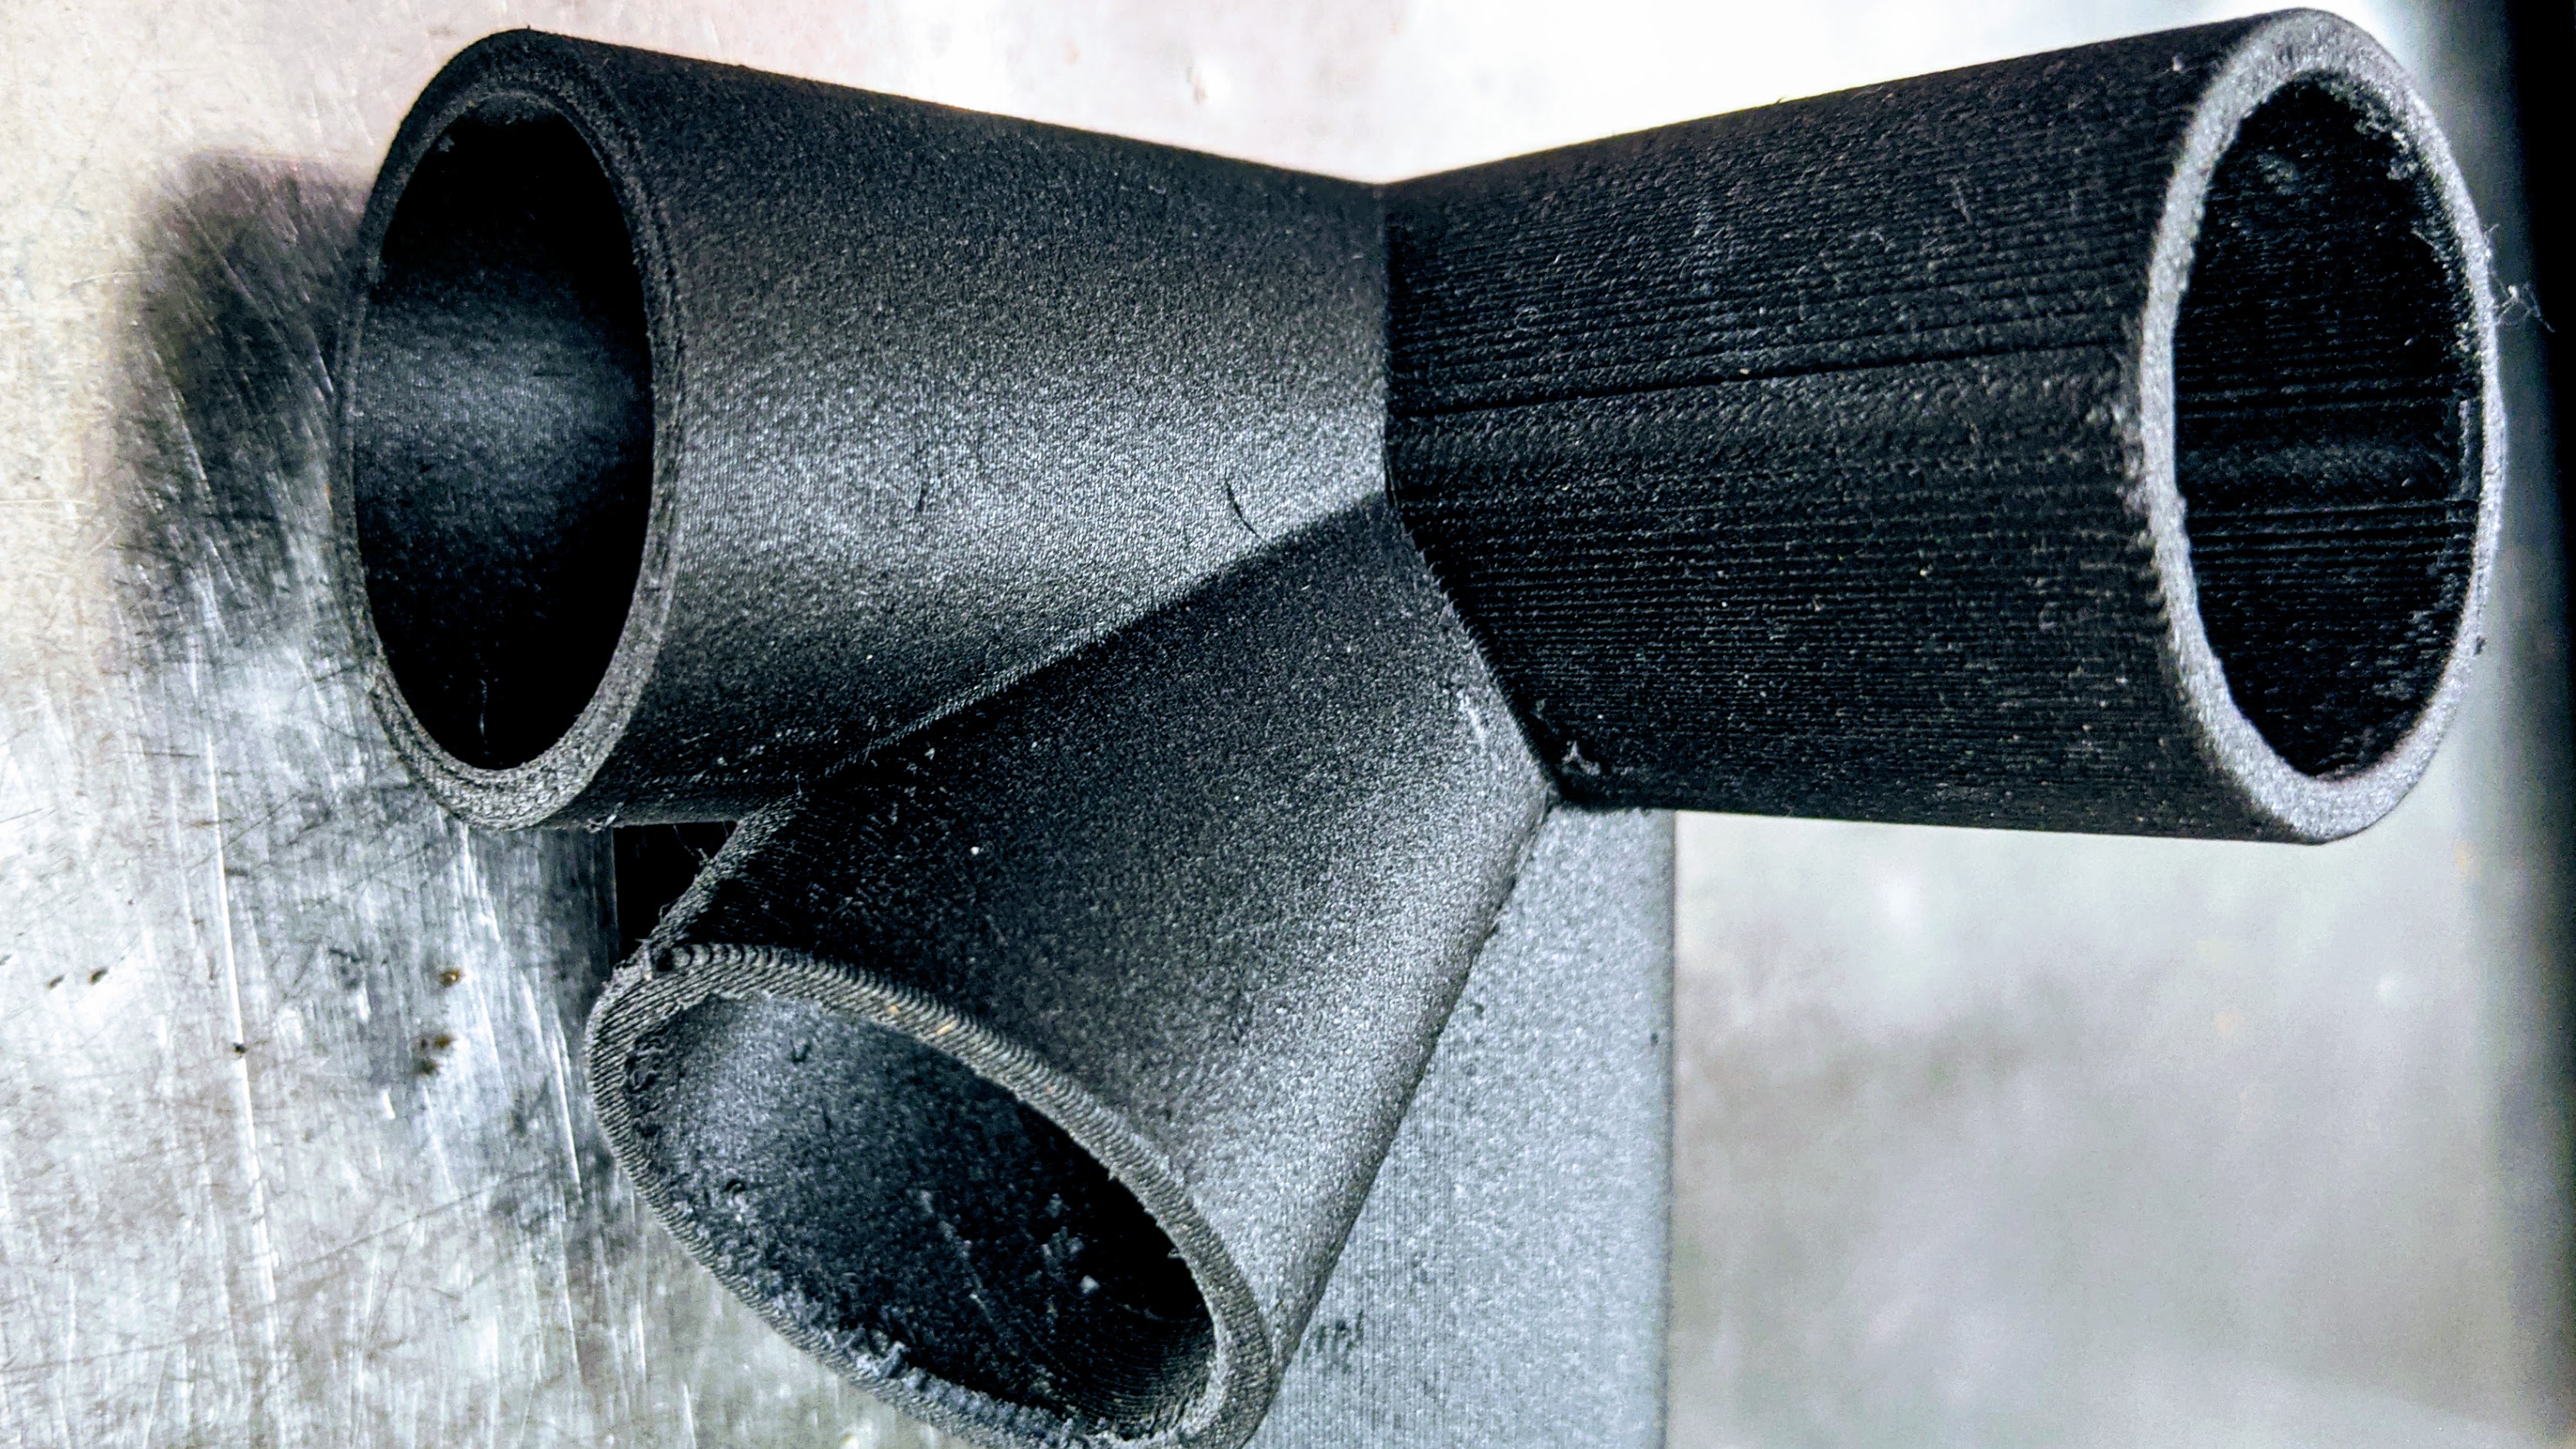
*custom designed fitting for 1” wooden dowels printed in carbon fiber nylon
The reward of DIY furniture making
I have fond memories of watching my parents build and finish furniture for the house I grew up in as a kid. There was a store called ‘Sams Unfinished Furniture’ where we’d go and pick up things like book cases, storage cabinets and the such. My parents would take a lot of pride in the craft, sanding, staining, and finishing the furniture so it came out just the way they wanted it. I learned a lot about ‘making’ by watching them, and have carried forward the spirit of DIY knowing that I can build some nice things if I put in some time, care, and effort into it - not everything has to be store bought!
Over the years I’ve been able to collect and rely on a few fairly basic and versatile hand tools that I’ve used on many types of builds ranging from decks to cabinets, storage, bench projects, and others. I’ve been able to accomplish quite a bit with my small collection that includes:
- Circular saw
- Compound Miter / Chop saw
- Router
- Reciprocating multi-tool
- Drill
- Orbital sander
- Clamps and Glue
And most recently, my 3D Printer!
3D-Printing and Furniture making
As my experience with 3D printing and CAD has grown, I’ve been curious to see if I could develop custom designed 3D printed parts to make some simple yet functional furniture from basic materials like plywood, wooden dowels, and threaded pipes.
Here are a few projects that I’ve designed and built with 3D printed parts.
The 3 Legged Table
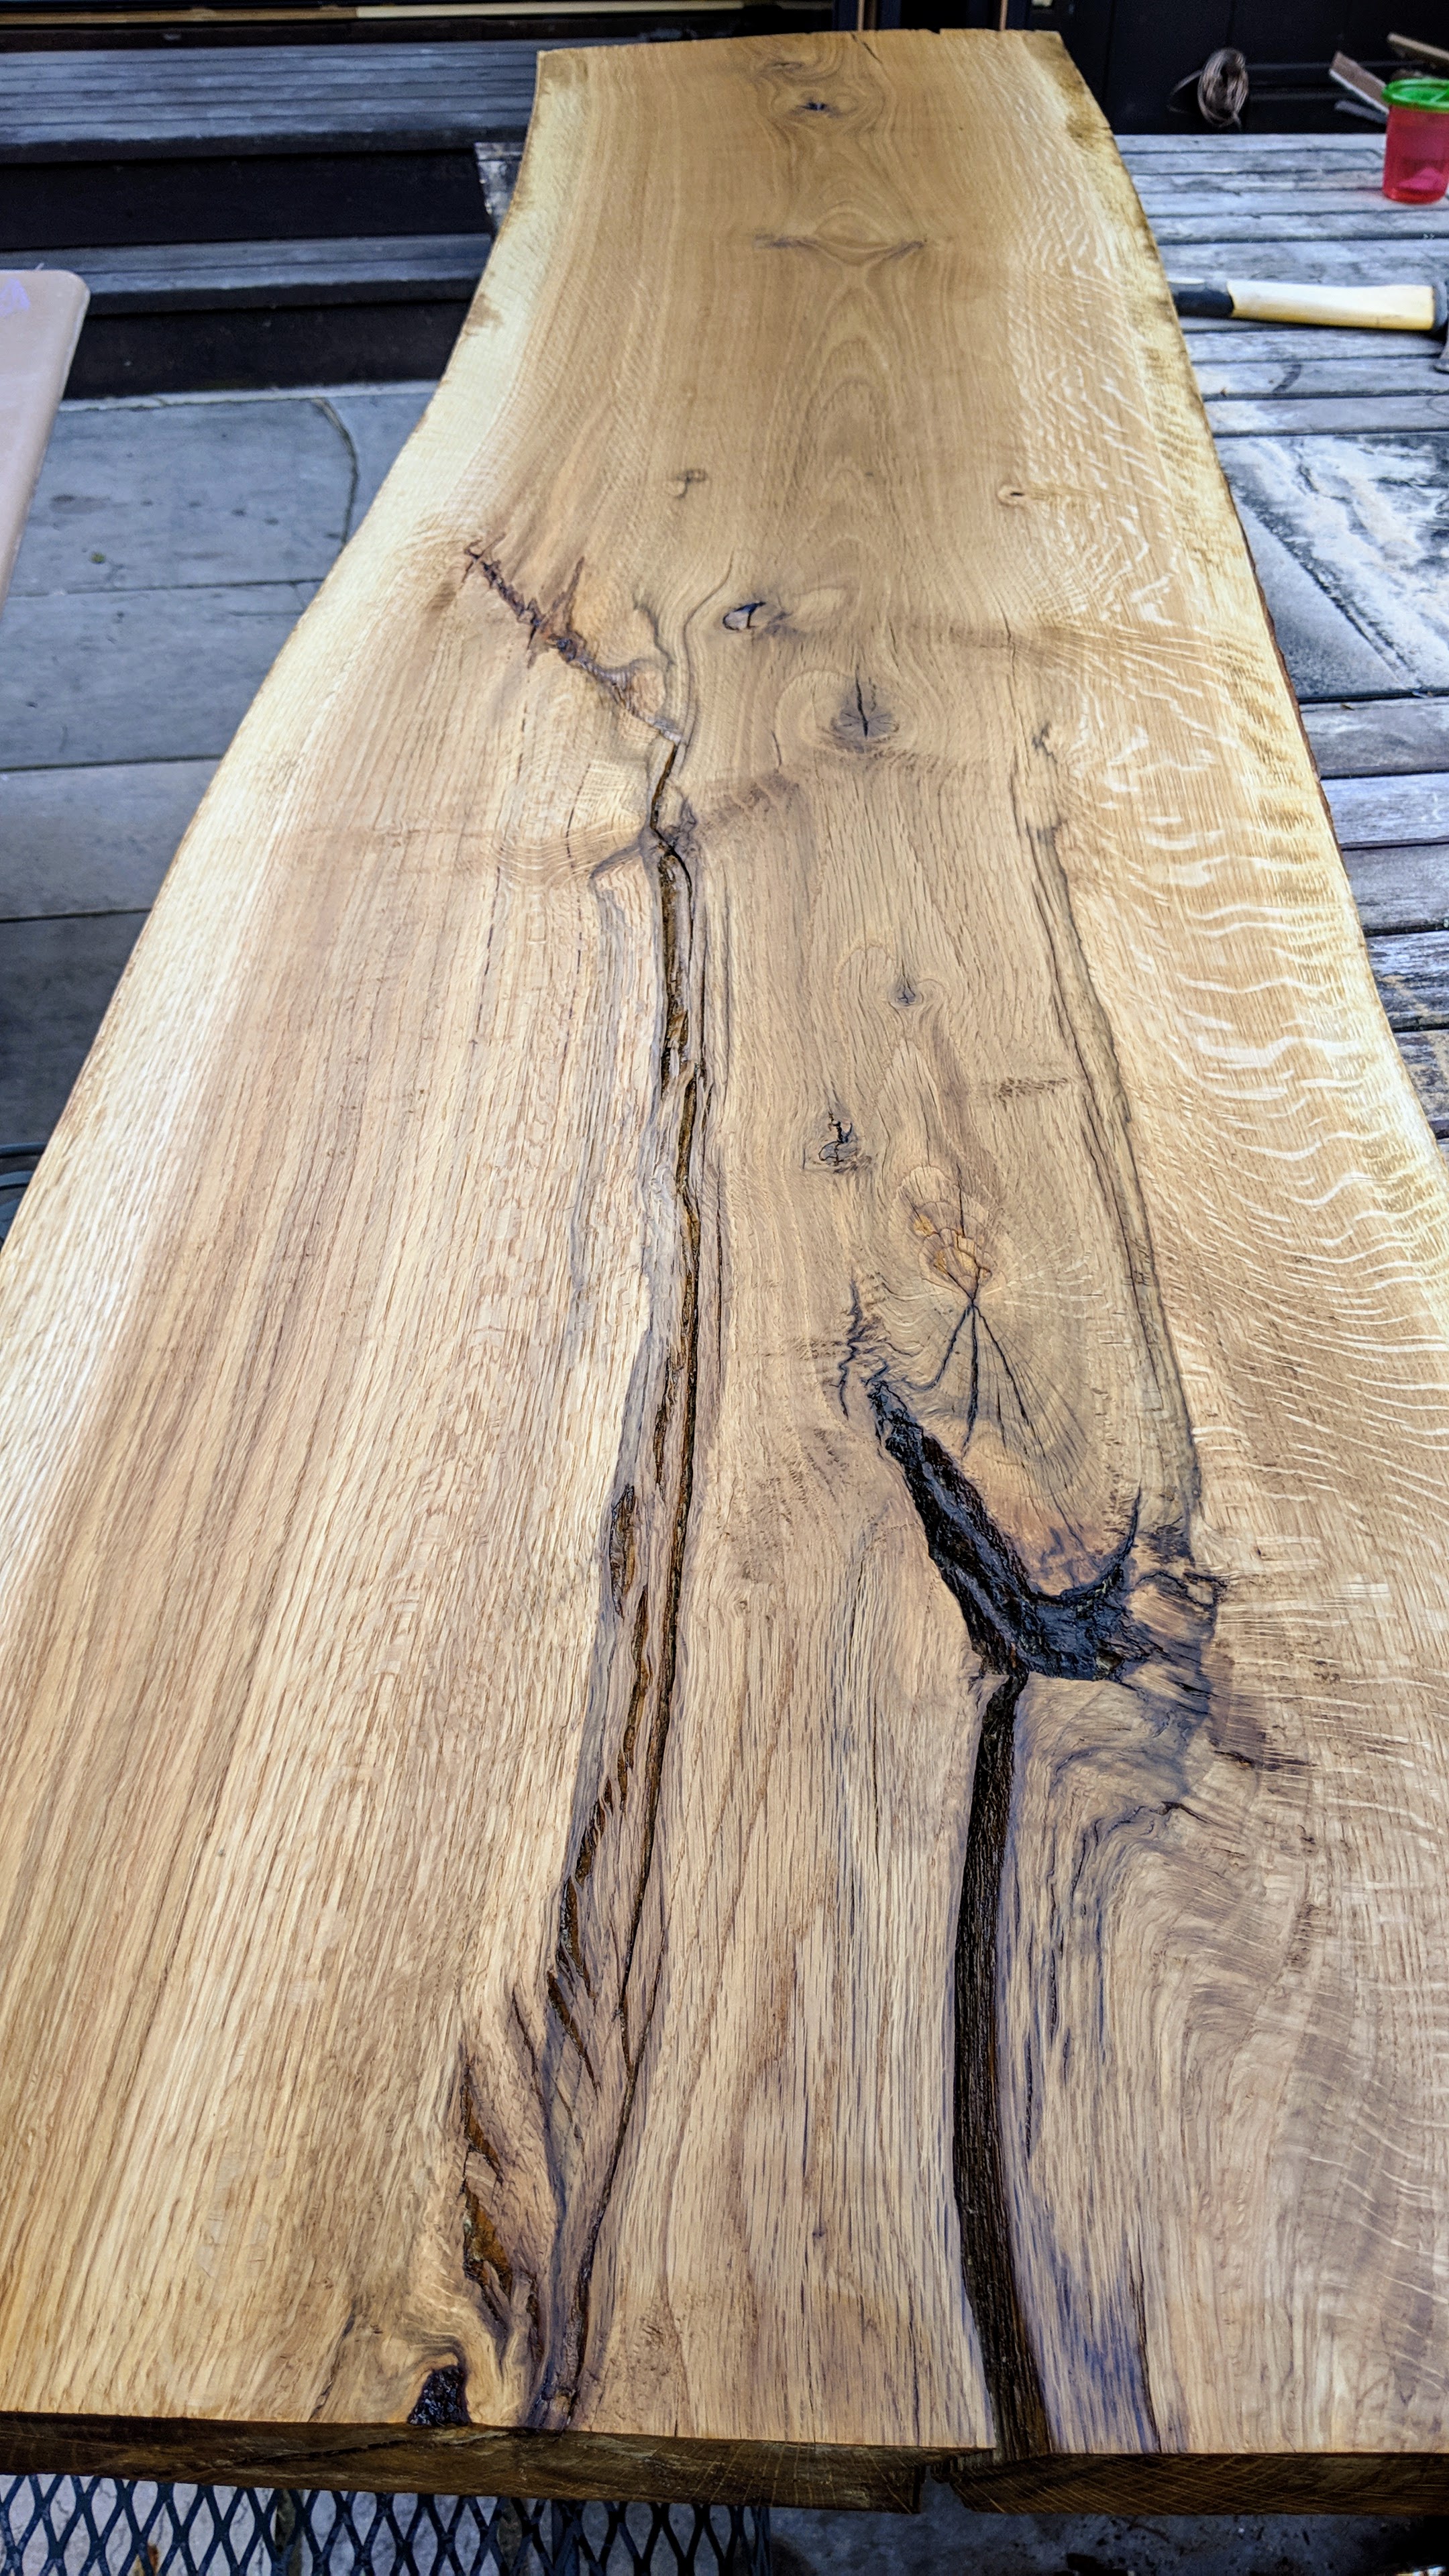
My first hybrid project was a 3 legged night stand. I had a piece of live edge white oak plank left over from a ‘floating bench’ I’d made for the entryway in our house, and really wanted to do something with it.
Original slab about 72” x 24” (not 3D printed) which I hand finished using the amazing Odies Oil waxes

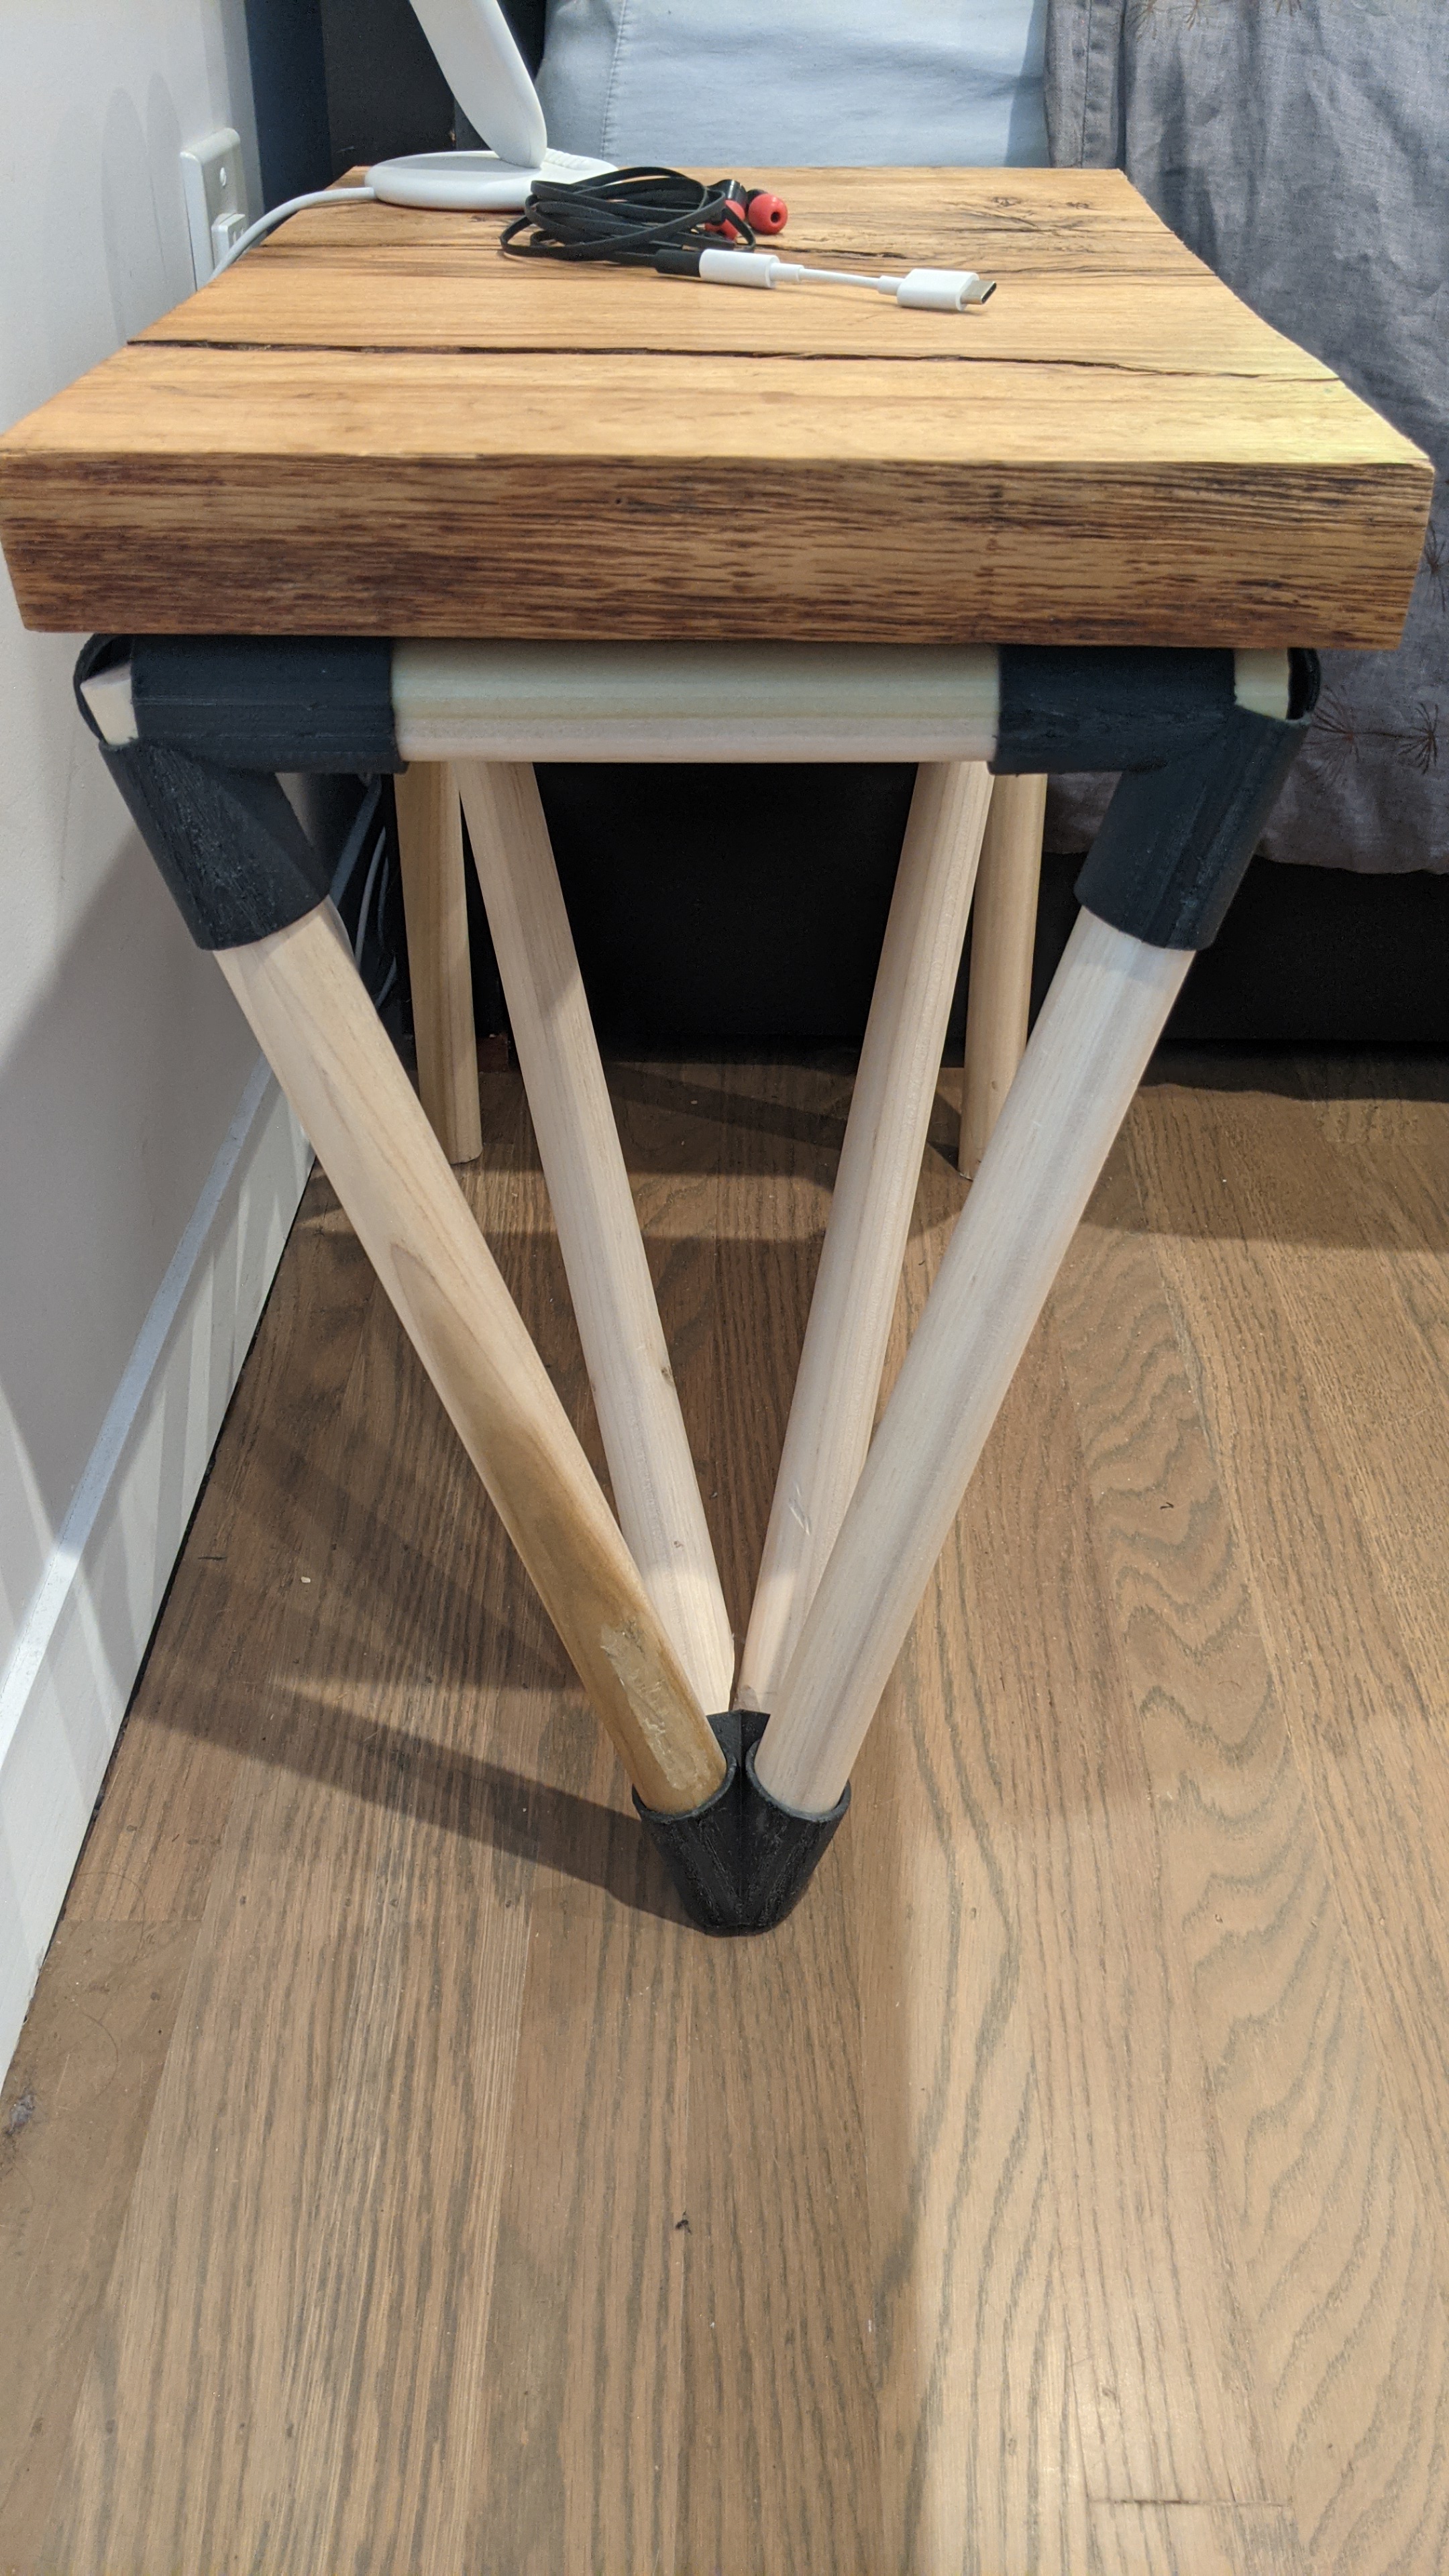
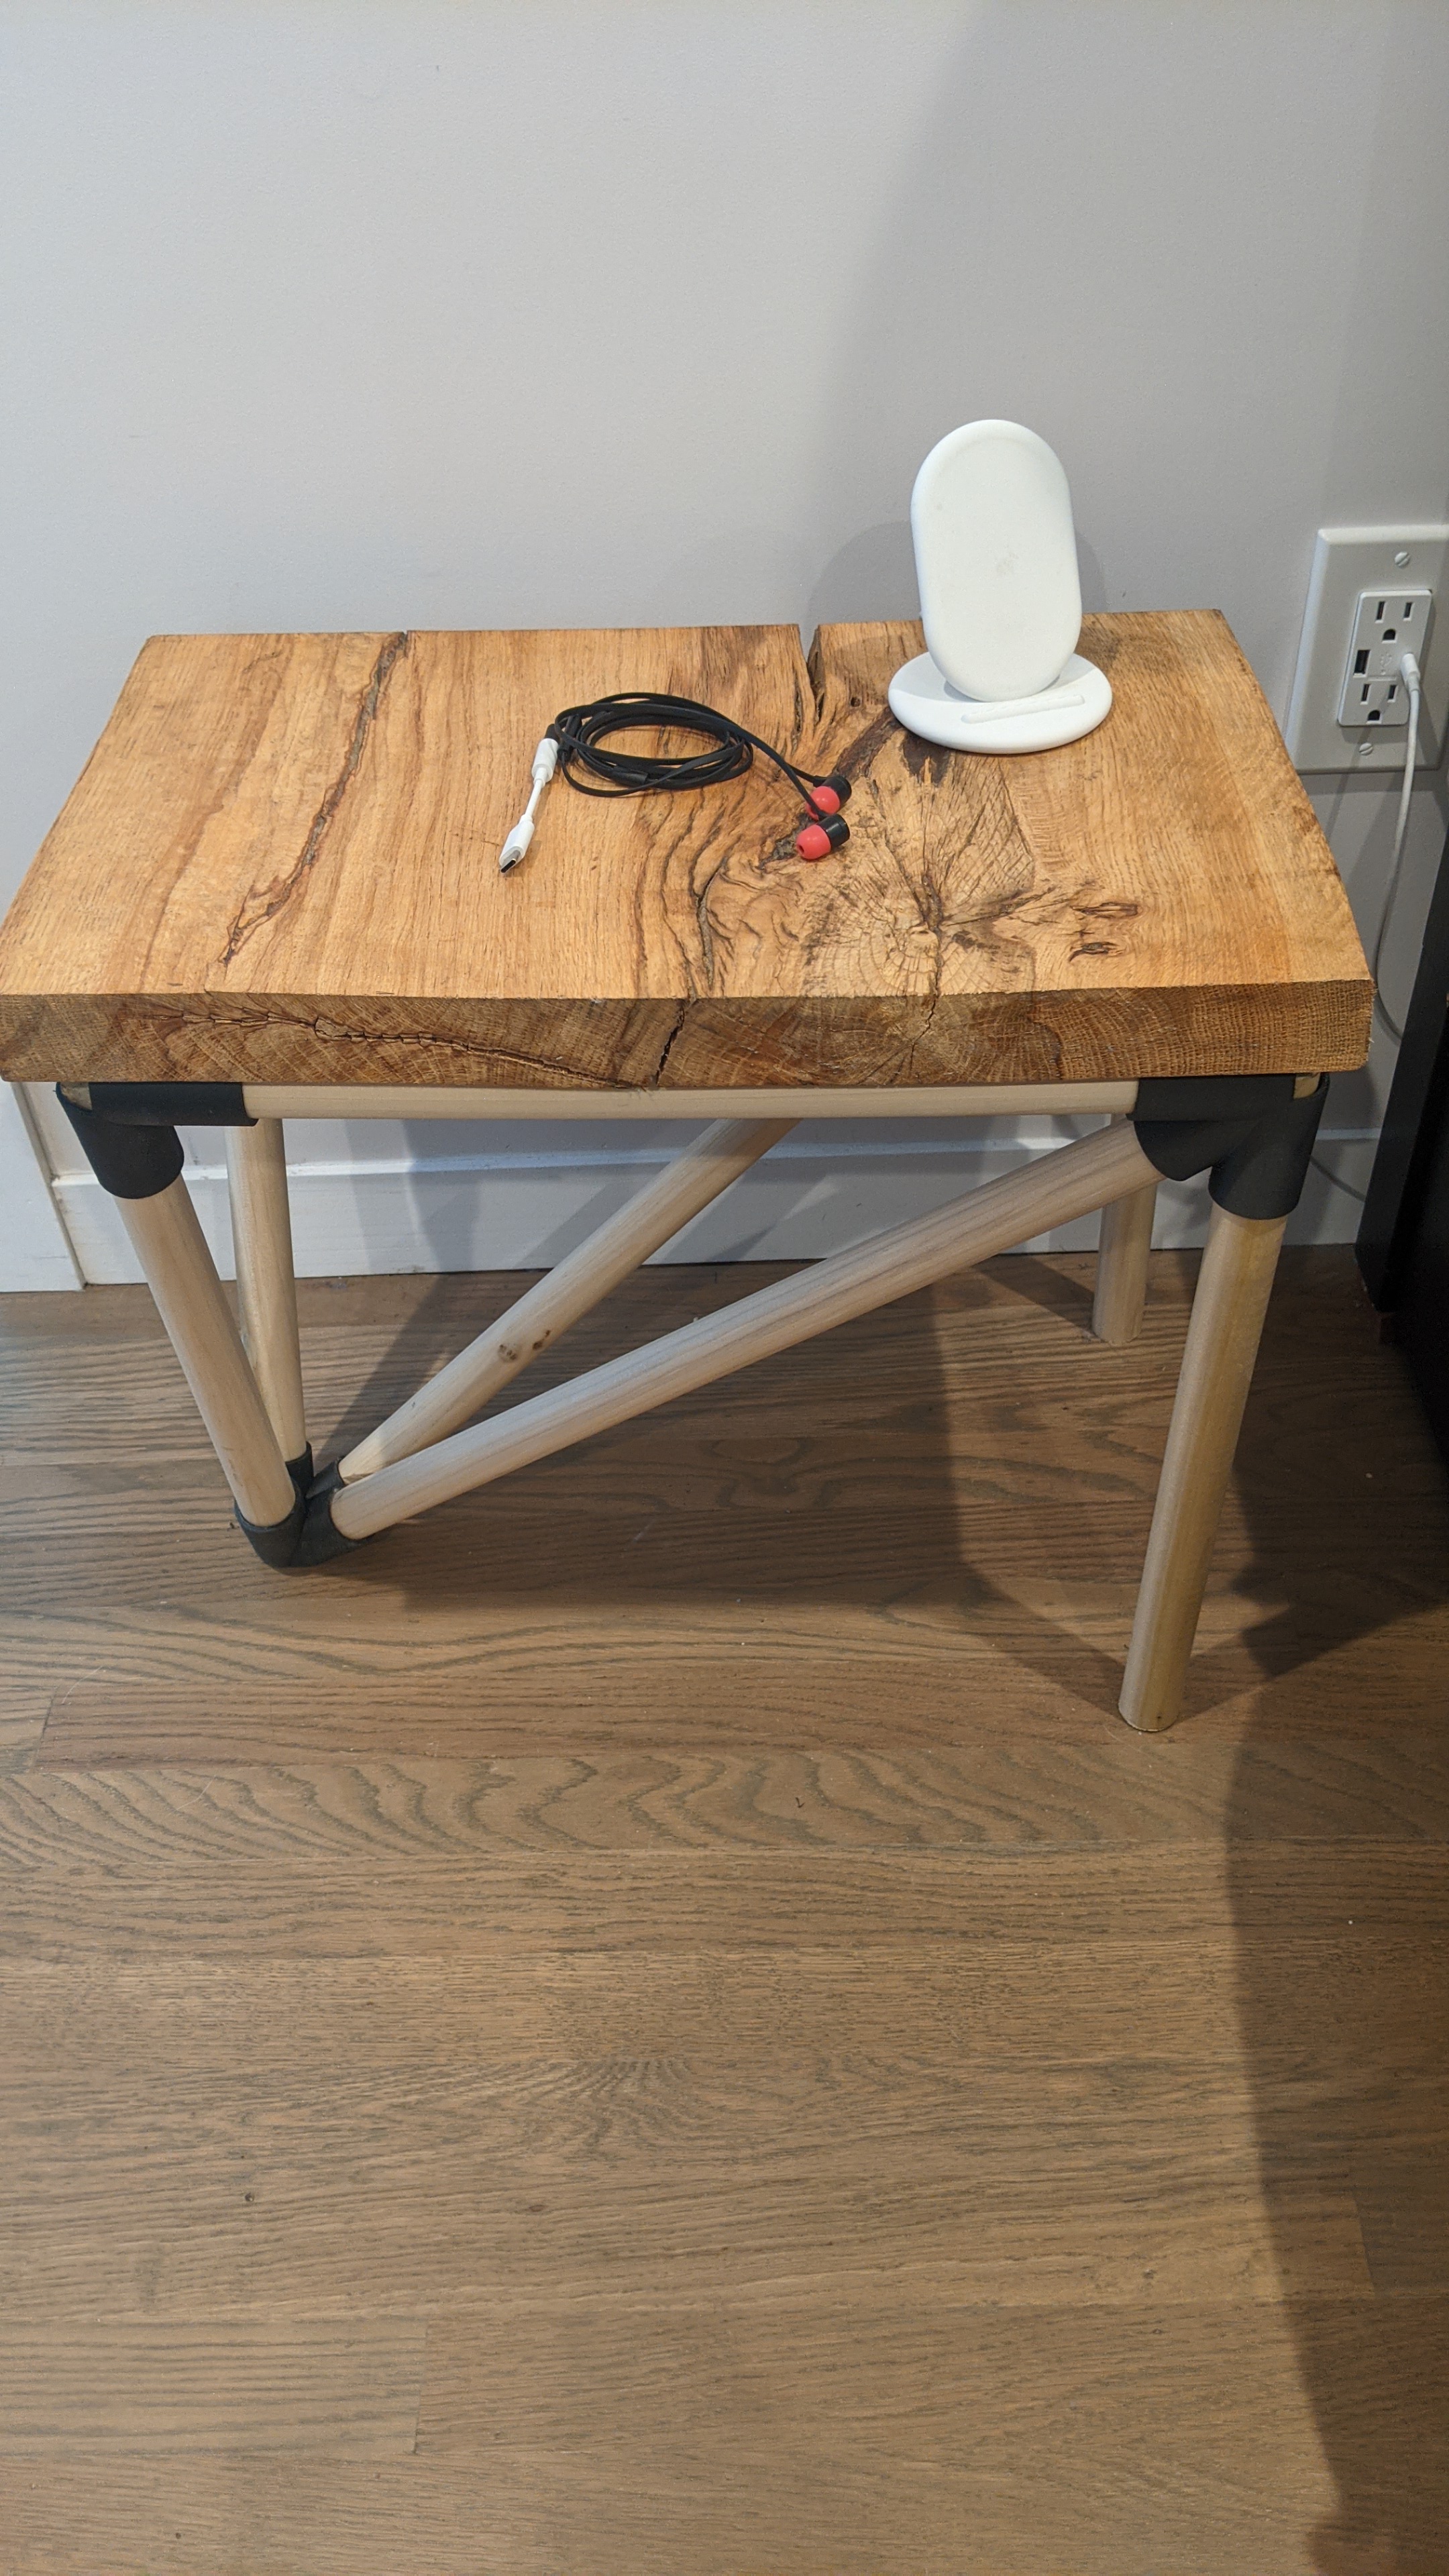
I thought to use some 1” wooden dowels for the legs, and wanted to do something a bit more geometric for the legs vs the standard right angles (if possible). I also wanted to see if I could design it so that the entire table could be assembled without using any fasteners like nails or screws and still be sturdy.
I ended up designing some fittings that the dowels would fit into forming a triangle for one side of the table. They would connect to similar fittings to form the frame supporting the tabletop, and the other sides 2 legs.
Everything was designed in Fusion360, and after several iterations was able to model the entire table on the computer including the dowel joints with the correct angles and dowel lengths proportionate to support the table top dimensions.
I was then able to export the dowel joints to print on the 3D printer, and cut use the dimensions in CAD to cut the dowels to length using my multi-tool.

The plastic joints were printed using a Carbon Fiber/Nylon filament making them really strong and flexible enough so that they don’t crack when flexed. The filament was the most expensive part of the project at about $60 for 1Kg spool… It was also my first time printing a high temperature filament, so lot’s of good learning there!
While there’s still room for improvement on the dowel cuts, I’m happy with how it turned out, and now have a nice one-of-a-kind bedside table.
